With everyone being stuck inside right now I have been finding more ideas for fun, creative activities with the kids. This DIY air dry clay is super easy to make and fun to play with.
This post may contain affiliate links to items I get a commission on if purchased. I link items that are what I personally use or is a close to it as possible.


DOWNLOAD PRINTABLE RECIPE HERE
ingredients for air dry clay
2 cups baking soda
1 cup cornstarch
1 1/2 cups water
rolling pin, cookie cutters, toys, herbs…

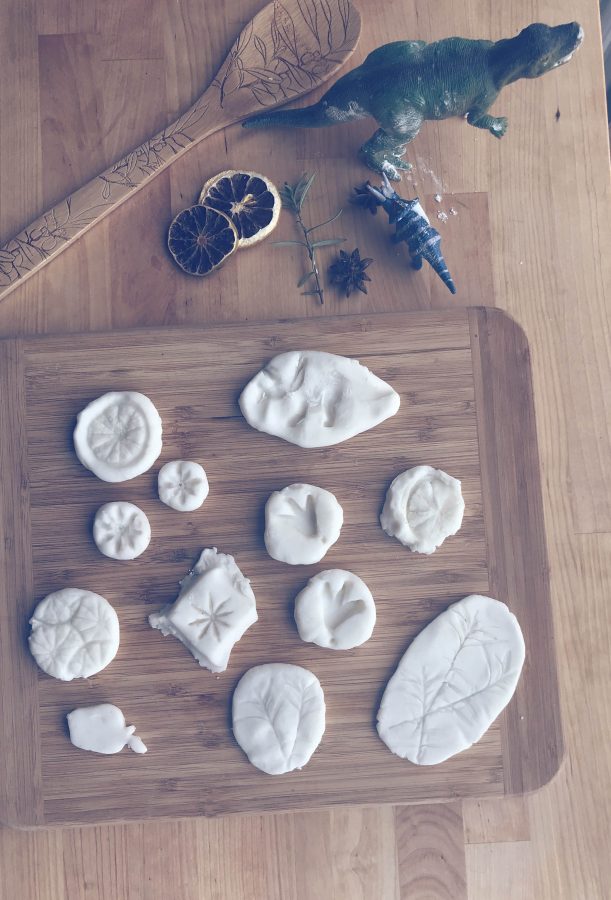
We found things around the house to make imprints in the clay. It was like an experiment to figure out what would work and what wouldn’t.

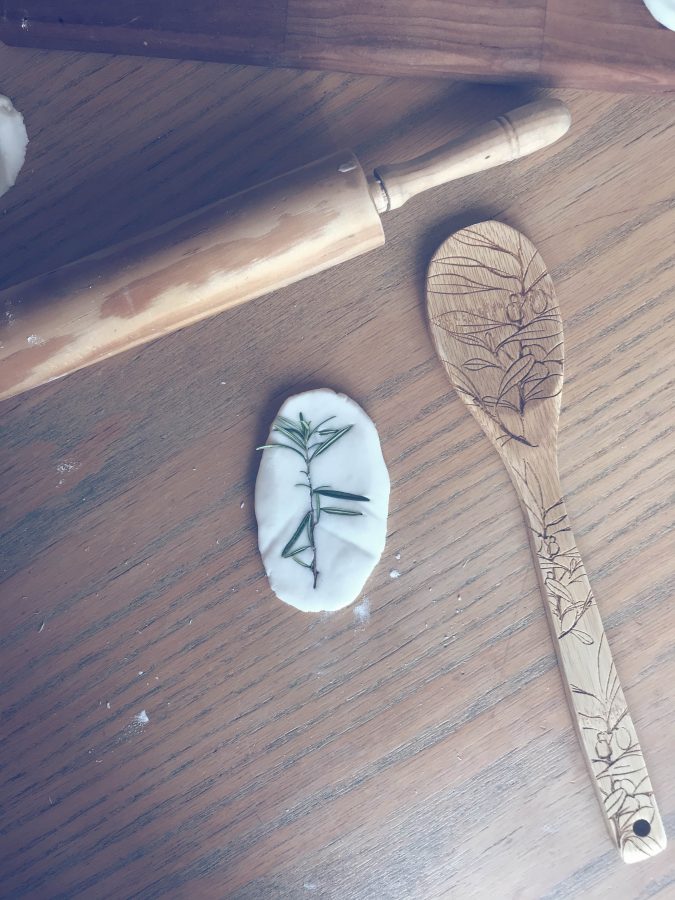
I used some dried orange slices, whole star anise and clipped a couple stems of rosemary for mine. The kids used dinosaur toys and cookie cutters for theirs. My older daughter formed items for her dolls as well.


making air dry clay
There are only three ingredients to this clay and you probably already have them in your house. Baking soda, cornstarch and water.
Start with putting all three ingredients into a pot and stirring until it is not longer clumpy but nice and smooth. Then turn heat on to med low and warm mixture, stirring frequently. One it starts to get warm it goes pretty fast. When it starts to come together like a dough pull it off the heat and transfer to a bowl or dish.

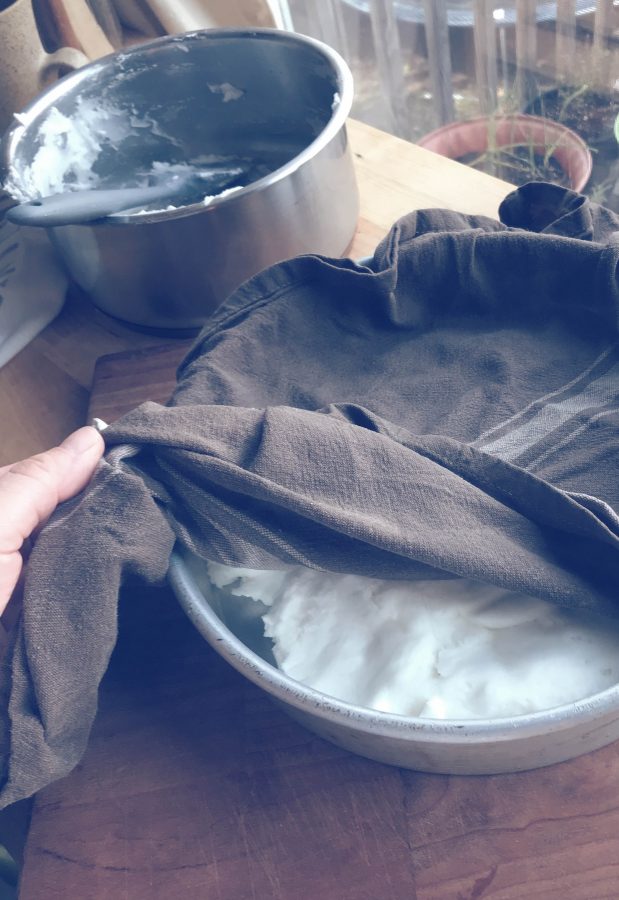
Cover with a damp cloth to keep the top from drying out. Let sit and cool for about 30 minutes. We used this time to gather our tools for imprinting. You also may need a small amount of cornstarch and water nearby for working with the clay.
creating with the clay
When cool enough to handle, grab some clay and start forming, rolling, and pressing to make your creation!
drying your creations
We spread our creations on a cookie sheet to dry. The drying process took two days. We turned them over after day one and let the other side dry the next day. My daughter colored her creations with a marker. I wanted mine to stay bright white and made some of mine into magnets.
This would also be a fun project for making holiday ornaments or baby hand or foot imprints for memories.
Now you can have fun making creations of your own! I would love to see what you create. Tag me on Instagram @dezthebakist. Enjoy your creative time! ? dez


Air Dry Clay
Ingredients
- 2 cups baking soda
- 1 cup cornstarch
- 1 1/2 cups water
Instructions
- mix all ingredients in a medium sized pan until no longer clumpy but smooth
- turn stove to med heat and start cooking mixture, stirring constantly so it does not burn on bottom
- once it starts to thicken it will only take a few more minutes, keep stirring
- when mixture becomes more like a dough that holds together pull off heat and scoop into a container to cool. cover with a damp cloth so that it does not dry out
- while cooling gather whatever items you want to use with clay (rolling pin, cookie cutters, toys, leaves herbs to make imprints) also grab a small bowl of some cornstarch to have on hand while playing with clay and a platter or cookie sheet to put finished pieces on to dry
- when dough is cool enough, pull desired size piece out and make your item or design! Just keep the rest of the dough covered so it does not start drying out
- place items on a platter or cookie sheet and let dry overnight
- the next day turn pieces over and let dry or another day
- then you are done!
Notes
If you enjoy DIY activities like this clay see my homemade playdough recipe below

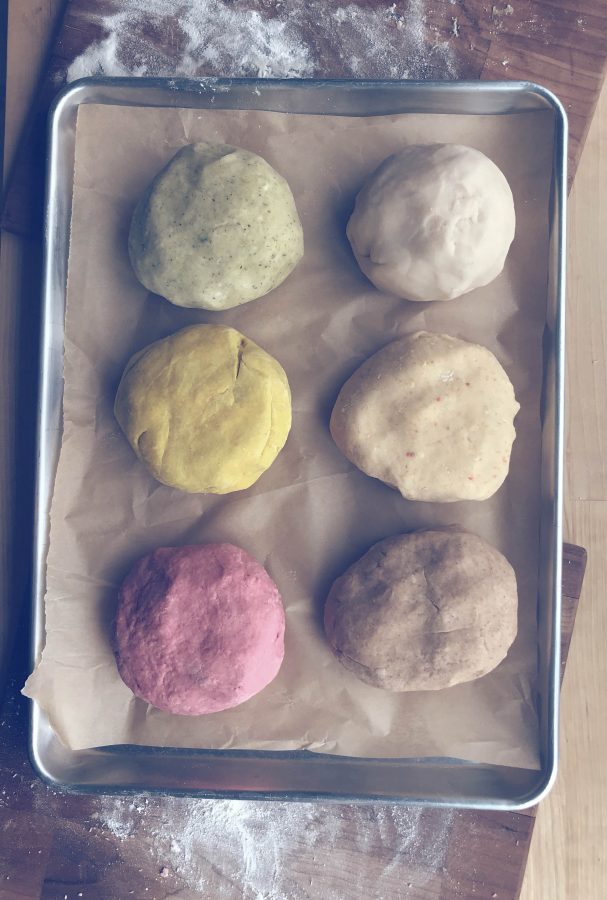
Use pantry items or food dye for coloring the playdough
Here are some items below to use for this recipe